 Ah, the beginning of a year. Those New Year’s Resolutions of last year (i.e. blogging regularly) went out the door. That doesn’t mean I won’t try again this year. I wanted to share a few projects that I did have fun with, so you may see a couple of posts pop up. Let’s start with the DIY bar.
This project all began when I realized: (1) I was living with someone who had a large alcohol collection that was overrunning a wine rack and (2) the price of a bar large enough to fit the collection was outrageous for the quality/materials being used. Pinterest was a great place for inspiration. One particular post for a mini bar struck my fancy and something that seemed reasonable to do.
The Hunt
Without an existing book case, I ended up surfing Craigslist until I found the right piece. I fell in love with a bookcase with rounded corners that reminded me of Mad Men. However, it was missing all of its shelves and the top had some serious water rings. A quick trip to home depot resulted in some new shelves. Plus, they cut the wood to the dimensions I needed for free!
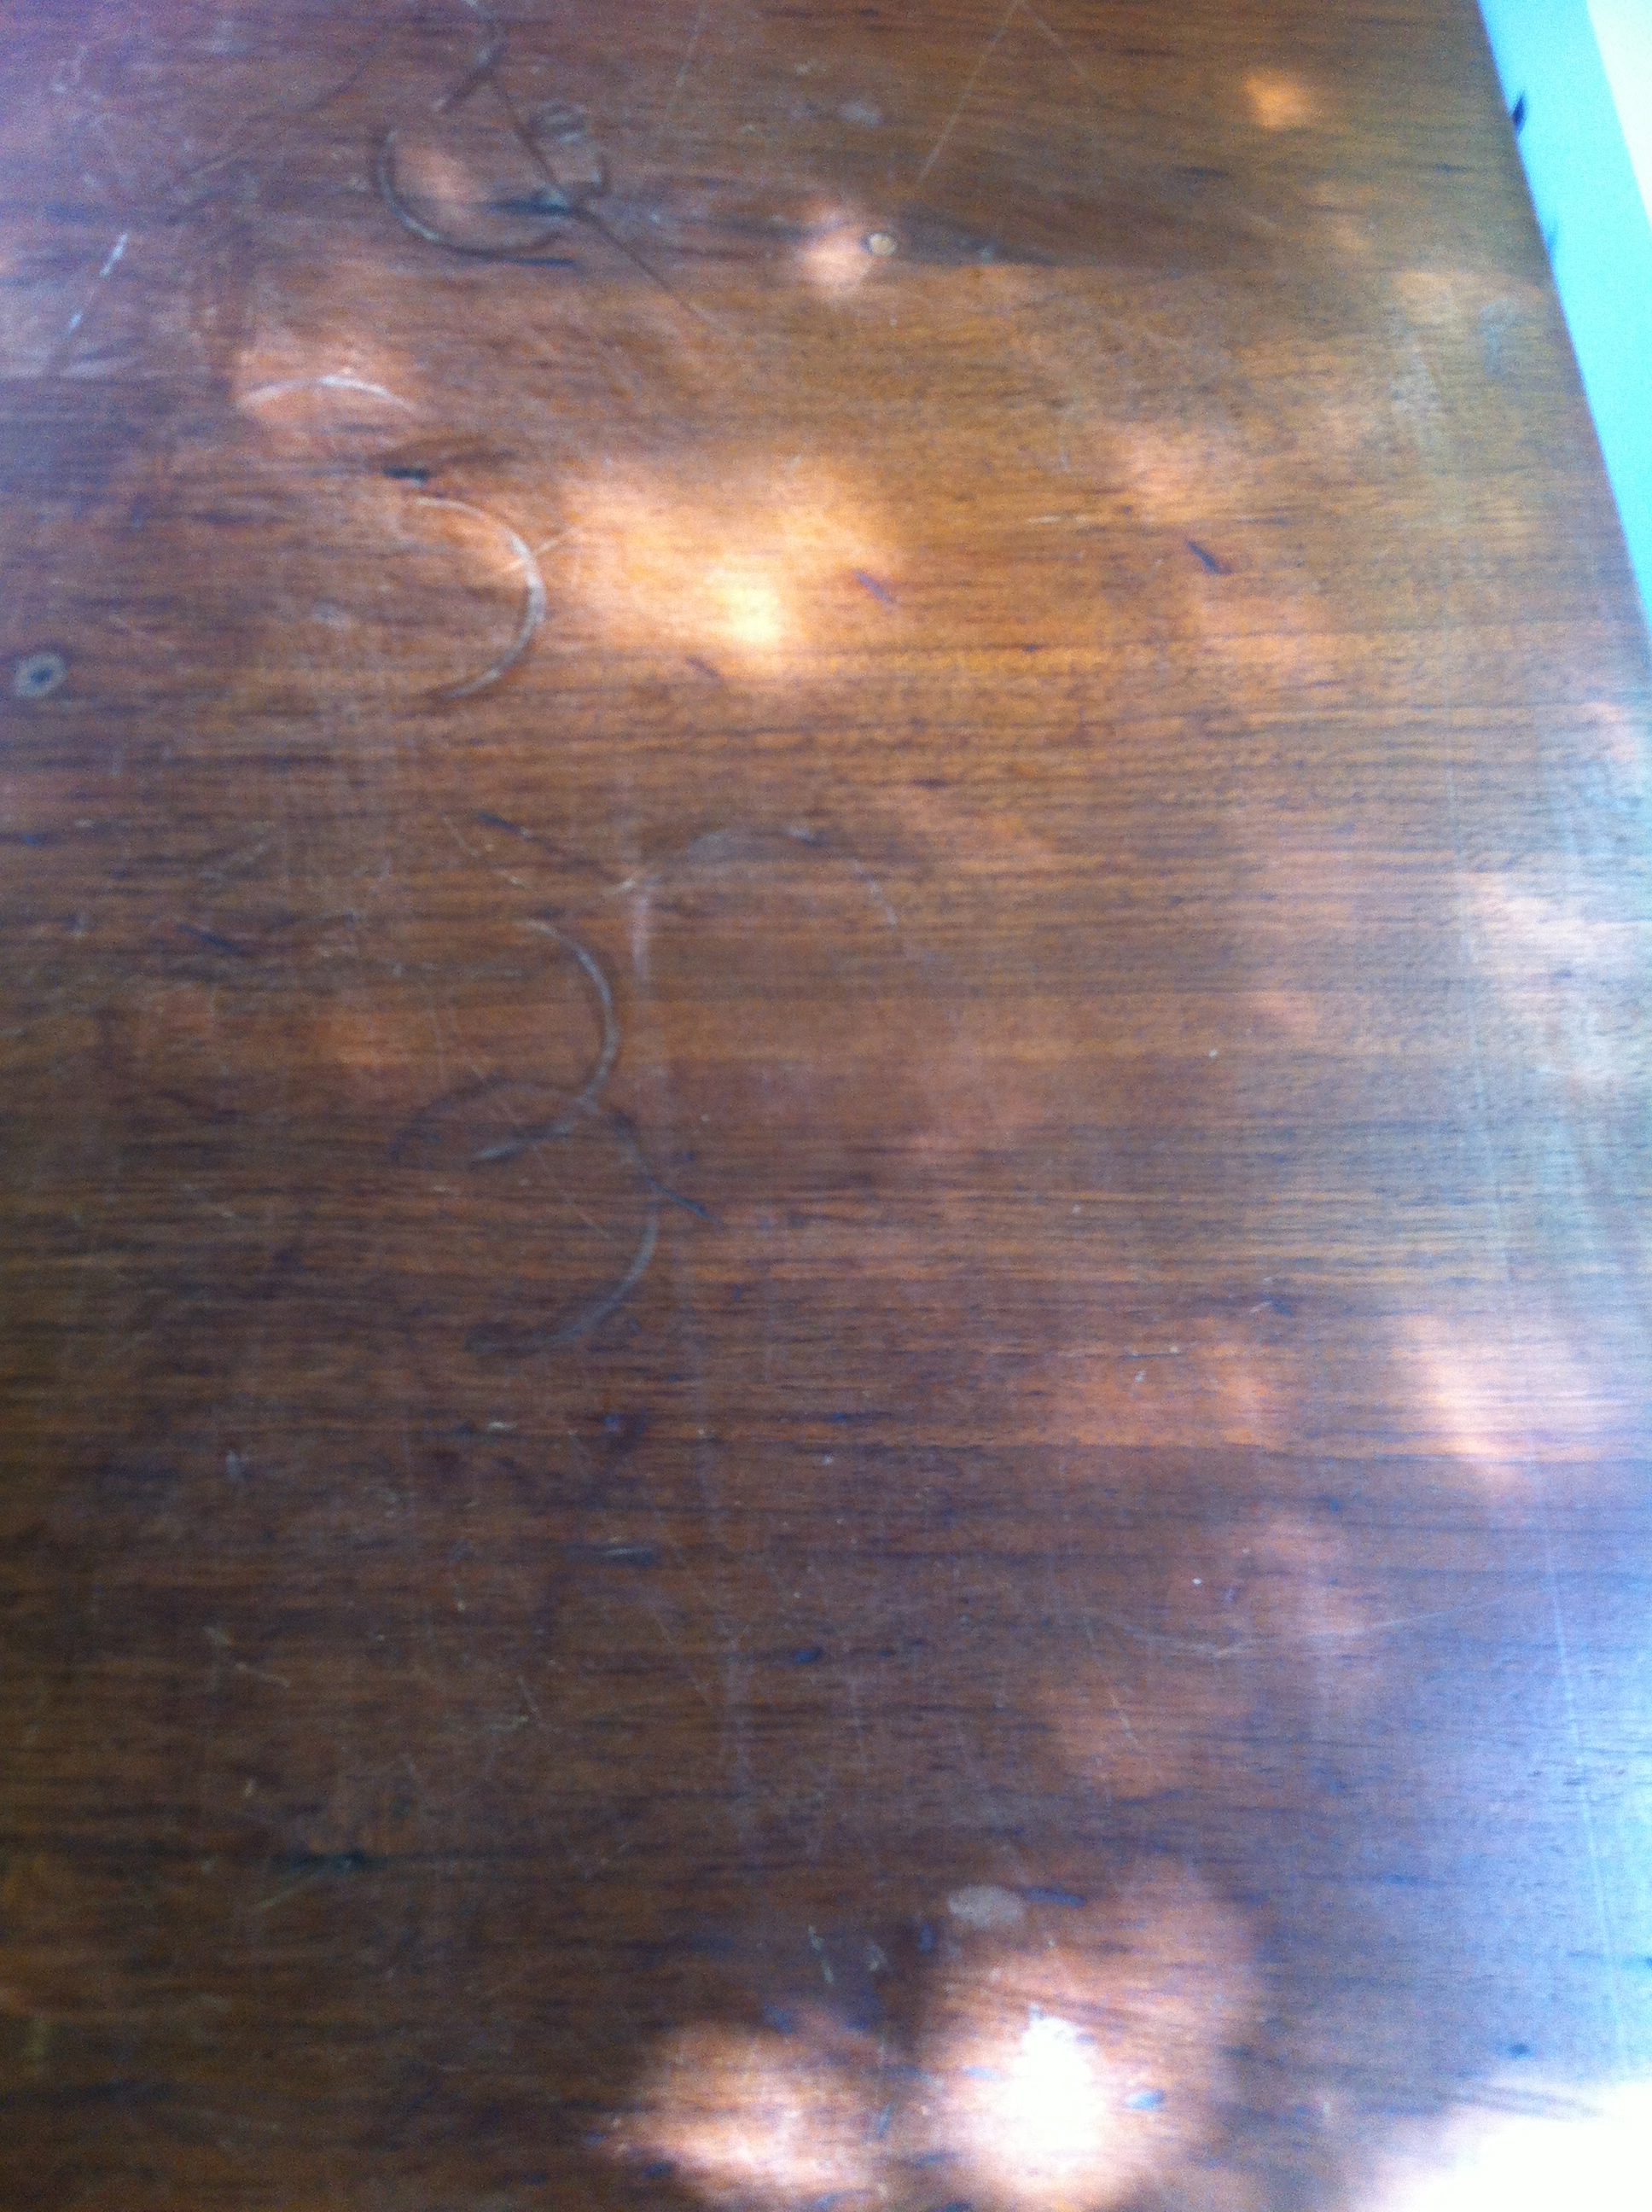
Yikes! Look at those rings.
The Cleaning
After much debate, I decided to refinish the wood surface on the top. The YouTube videos made the process seem so fun and easy. Haha- I was in for a treat. This endeavor required purchasing wood stripper, stain, top coat and specialized tools to apply all of these harsh chemicals. It appeared that the piece had a veener on the top making the whole thing tricky.
After spending a half day finessing the top of the piece using the wood stripper, it did not seem to do much. I opted to use fine sandpaper by hand and then gave up and broke out the big gun, the electric detail sander. Luckily for me, the veener layer was thick enough to handle it and the sander worked wonders. The staining and top coat were much easier in comparison. However, being outside was not ideal as little dust particles would blow into the top coat. When all was said and done, the top looked 100 times better. However, in hindsight, for the amount of time it took, I may have gone the route of painting the whole thing instead.
-
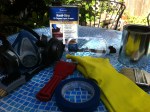
- All of the wood refinishing supplies
-
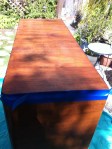
- The refinished surface
-

- Up close detail
The Finishing Touch
With the top all shiny and new, the rest of the exterior needed some love. I happened across a bottle of Feed and Wax product by Howard around the house and it worked miracles. One of the biggest problems with wooden furniture is that it gets dry over time and things like Pledge just don’t cut it. The conditioner goes into the wood and helps it to really shine. The piece of furniture I bought was so thirsty, it needed a few treatments. The results were so awesome I went around “feeding” all the other furniture (yes, I get a little overly excited about cleaning). Just be aware that you need to apply it to the whole piece of furniture because it can darken it. You should probably spot check it before going crazy like I did.
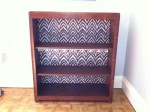
To the make the piece not look like a bookshelf, I opted to buy some shelf lining paper from Amazon to add to the back. A word of wisdom on this- buy paper that is easy to match. I had to use two different rolls with three strips of it to make it work. It is also best to lay the furniture down when adding the backing.
The attempt to stain the new shelves to match the top of the piece failed miserably- mixing wood types does not work! Luckily for me, I scored a free can of paint from Kelly-Moore to celebrate a new paint line. The shelves got a rich chocolate color to match the lining paper. I also purchased wine glass racks at a local building supply shop to hold the martini glasses.
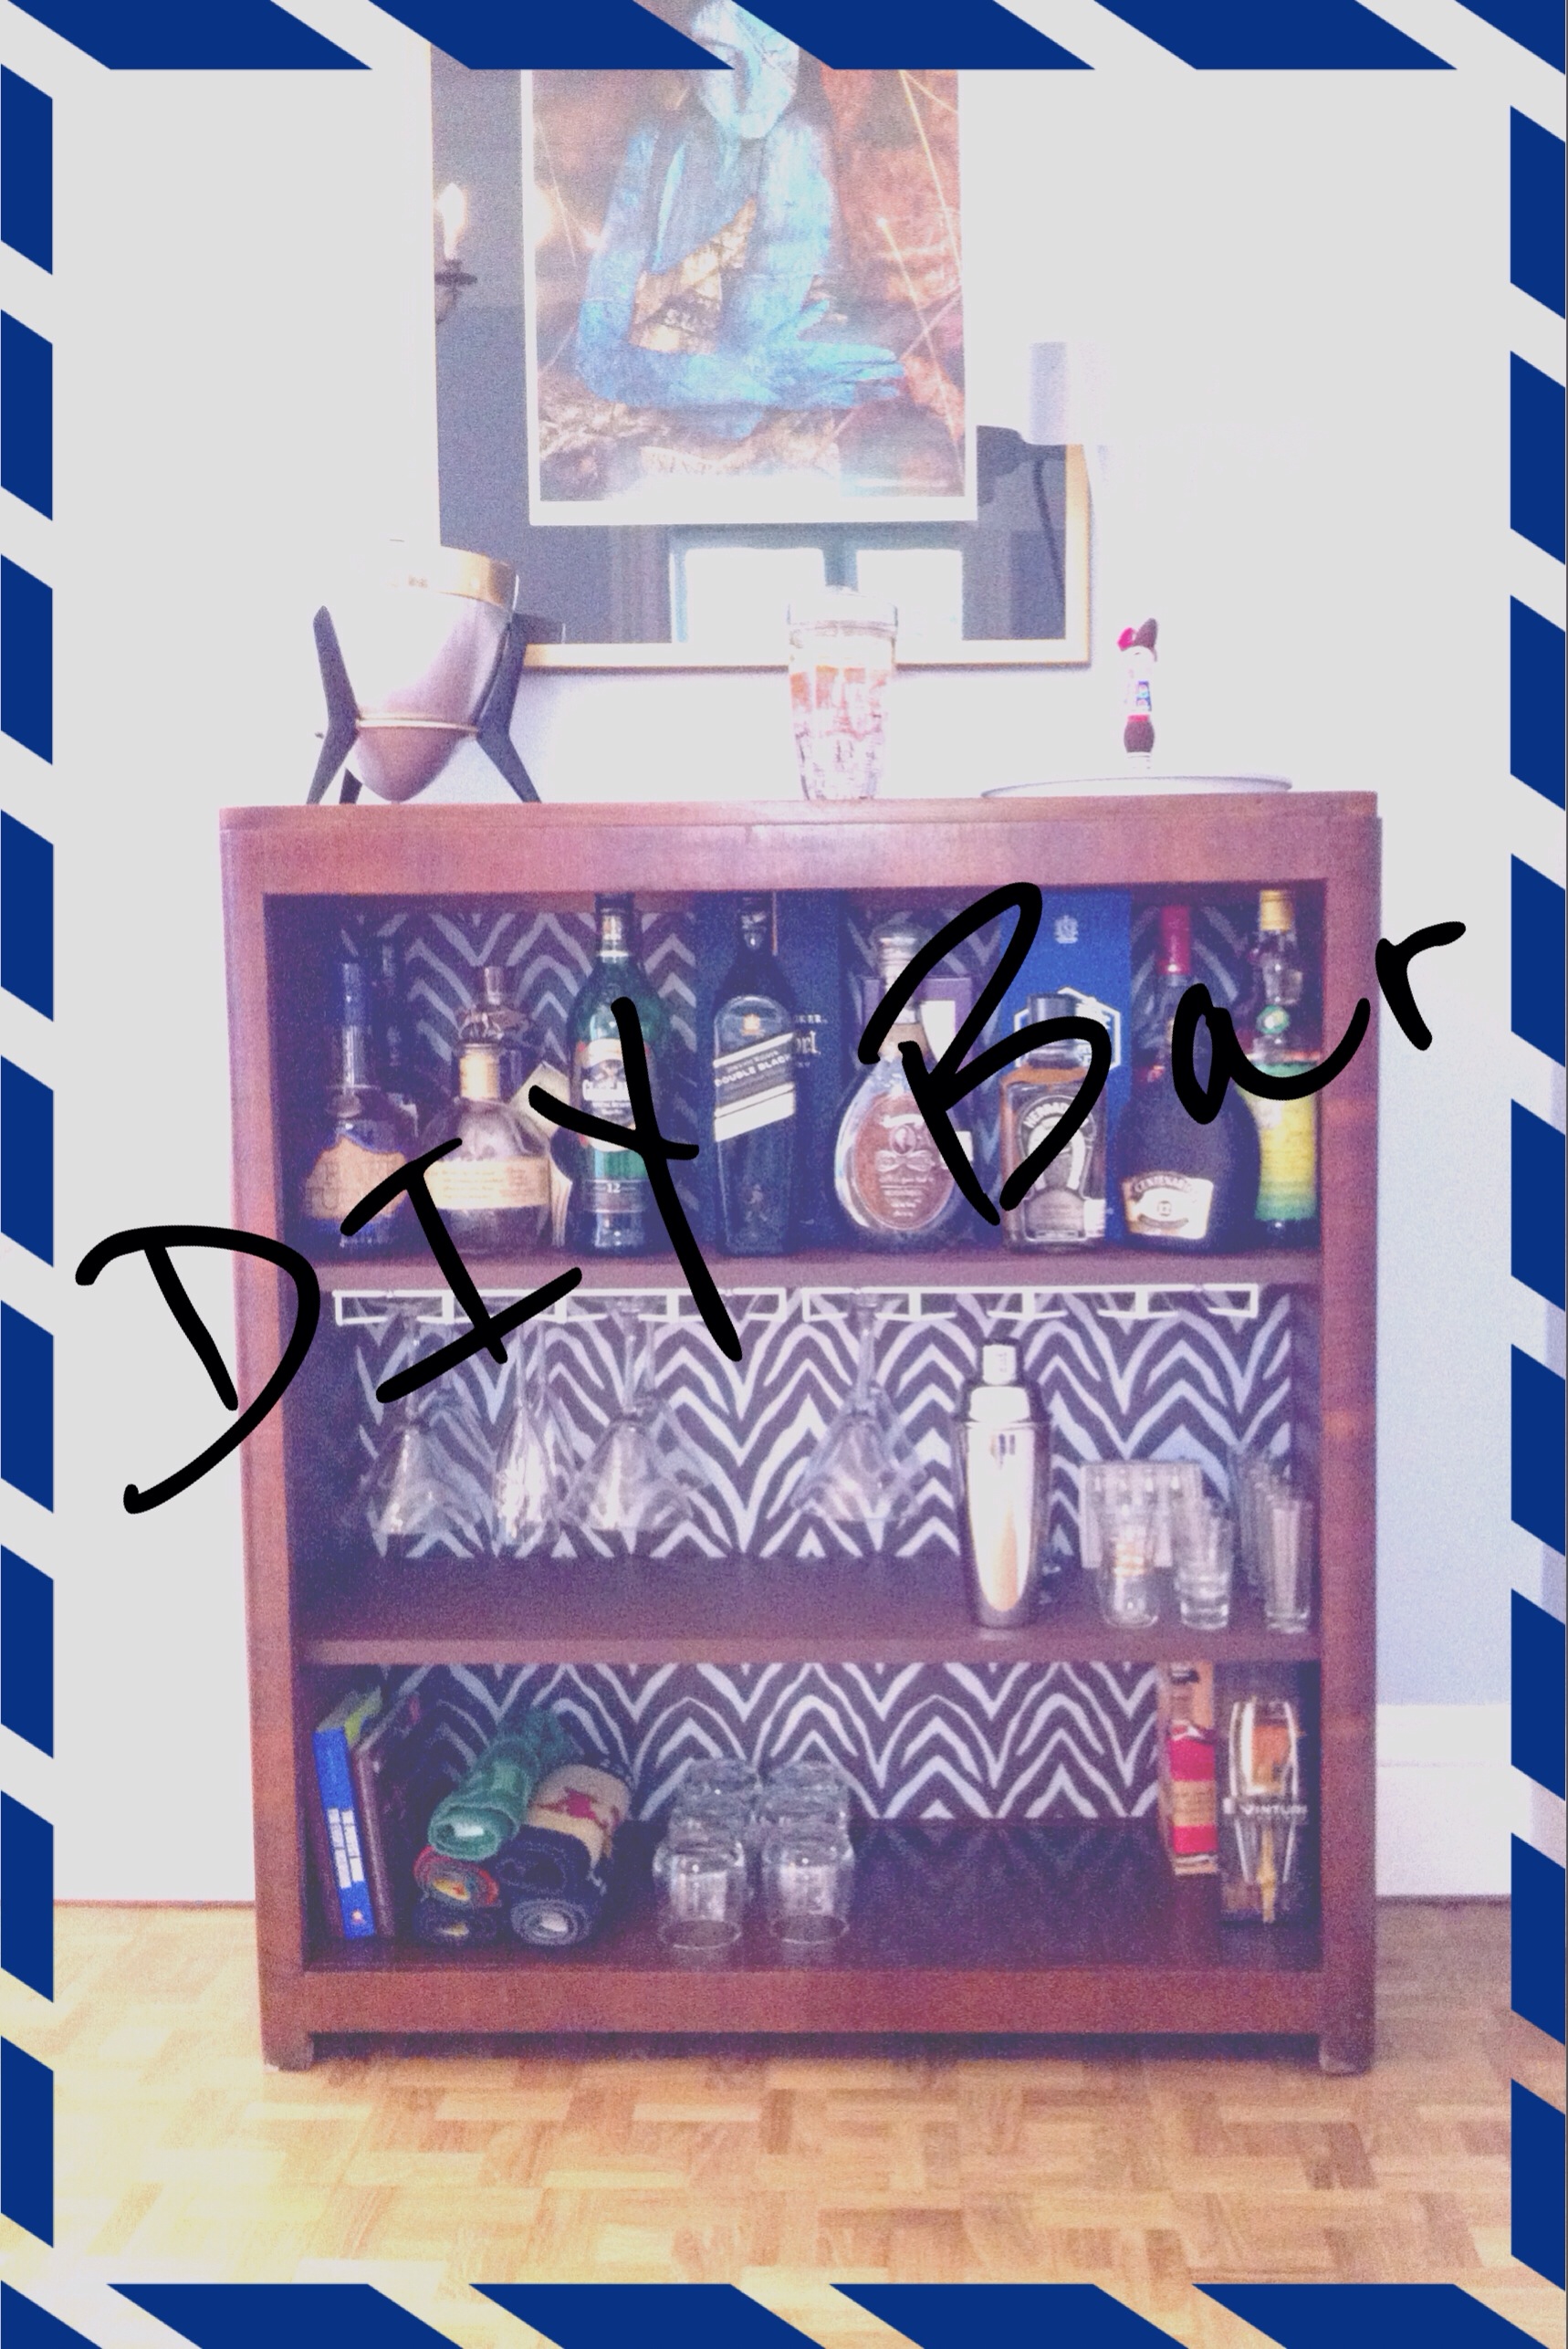
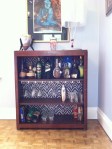
Finally, I was able to move all of the alcohol in and sprinkle in accessories like a vintage shaker from my grandparents and bar towels. After all was said and done, I was happy with the end look.
-
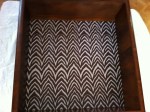
- Adding the backing
-
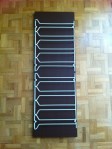
- Two simple wine glass racks
-
- Finished!
-
- Everything added